A Beginners Guide
It’s the summer holidays, and we all know what that means – time to redecorate while it’s warm, breezy and dry, and get started on that painting job that’s been looming all year. To help you in completing this feat, we’ve put together this ultimate guide to show all you painting beginners how to paint a room.
We can hear the collective groan all the way from our offices here at The Rug Seller as you drag your feet all the way to your local DIY store’s paint section.

But we’re here to show you that interior painting doesn’t have to be so much of a pain, it can be quite simple if you’ve got the right tools and know how – no really!
We’ve worked to put together a beginners guide for all those with no idea how to paint a room, and some top tips that even the reasonably experienced DIY painters amongst you may not have known – to make that painting job go smoothly.
How to Paint a Room: Picking Paint
Now, this is an essential step in interior painting – as you could probably have worked out. It’s not exactly how to paint a room, but the equipment is just as important as the actual painting. The most important thing to do is to carefully choose a colour, and it may seem like an arduous process, but it’s worth it and very important.
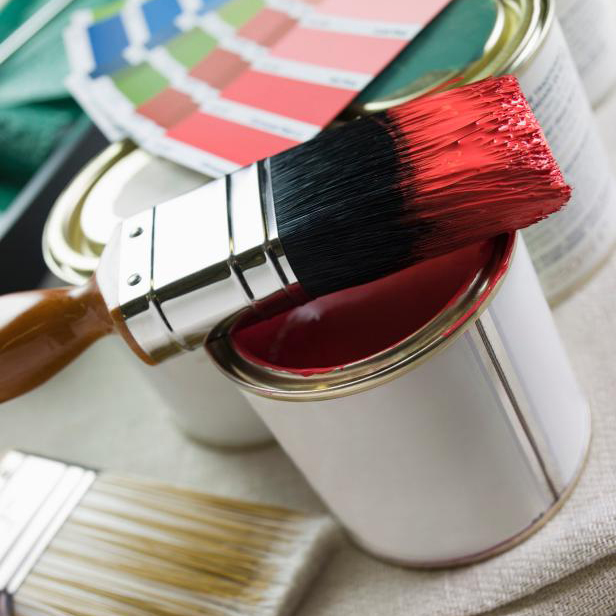
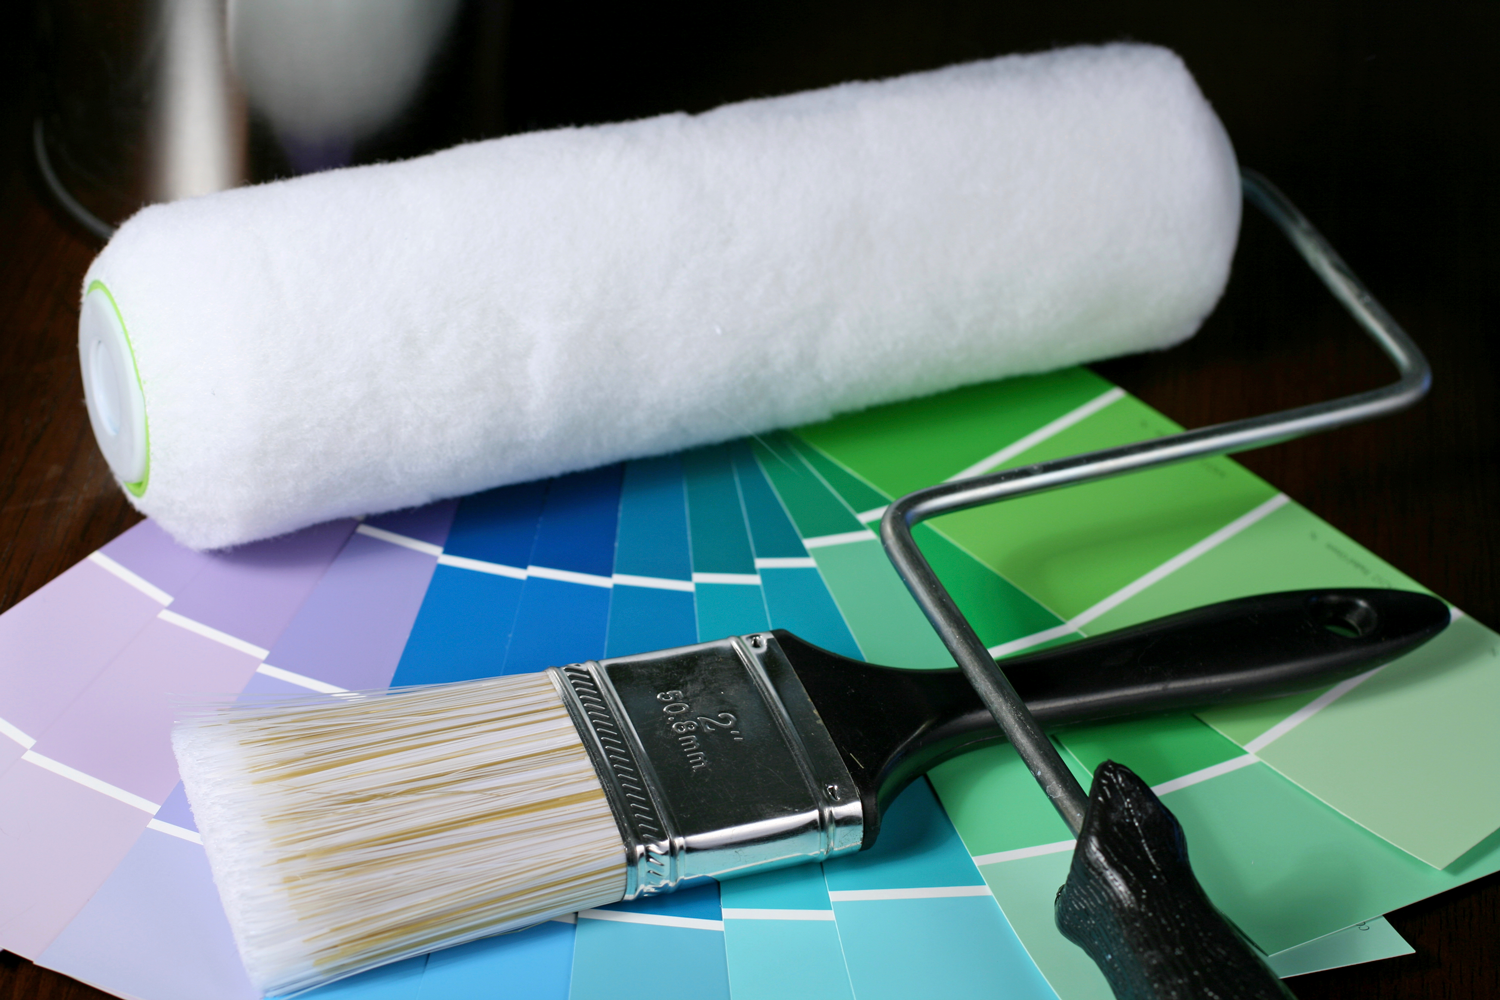
1.Gather Paint Testers
Gather as many paint testers that take your fancy, and take them home. It’s important to remember how many factors change the appearance of a colour that could affect your decision – from lighting to finishes to even the colour when dried!
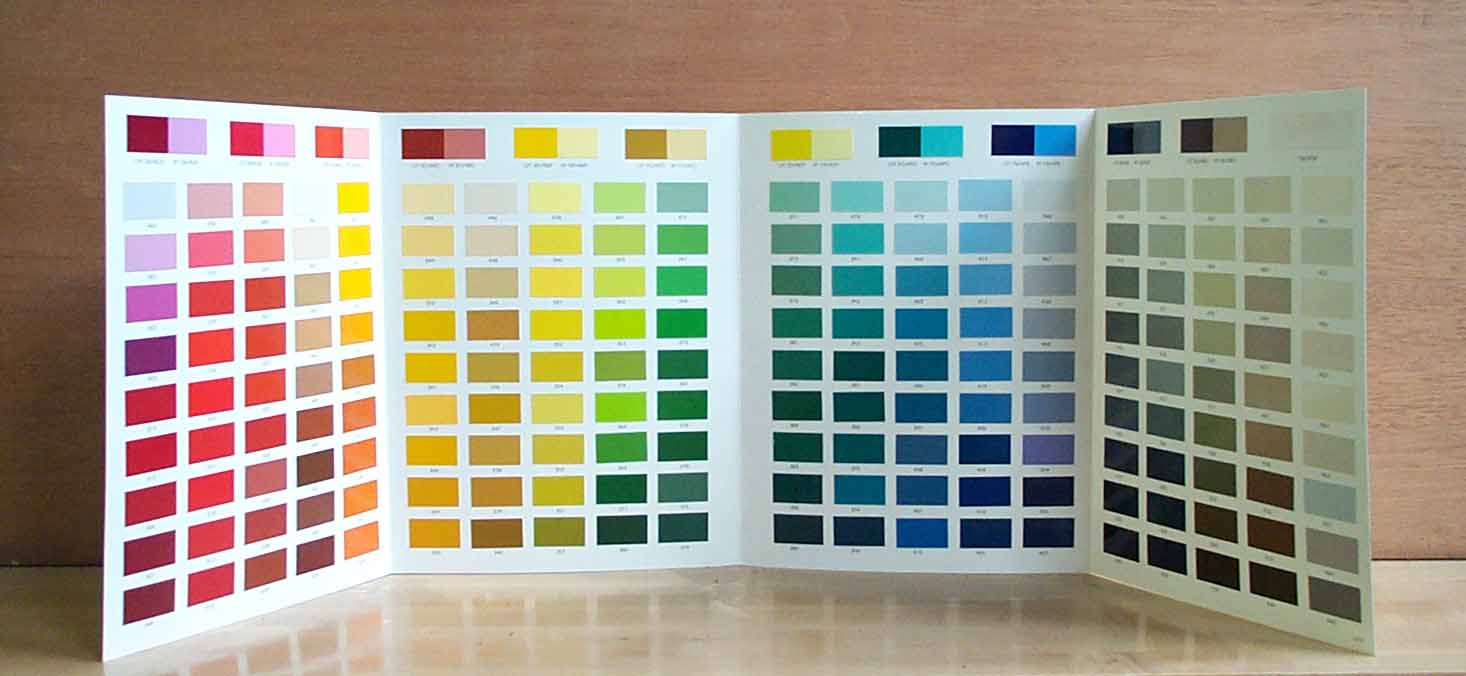
Image credit (here)
2. Try the Testers in the Light
You should place the testers against each wall, in natural light, to see how the paint colour changes in differing daylight in the room you’re painting. Paint colours will react differently when in sunlight against artificial light, so factor this in when painting a north facing room versus a more sunlit one.
3. Try the Actual Paint in the Light, on Paper
Once you’ve narrowed your selection, use your shortlisted colours to paint two coats onto an A4 piece of paper, and repeat the steps above – to see how the colour changes in the light when fully dried and how the finishes affect it.
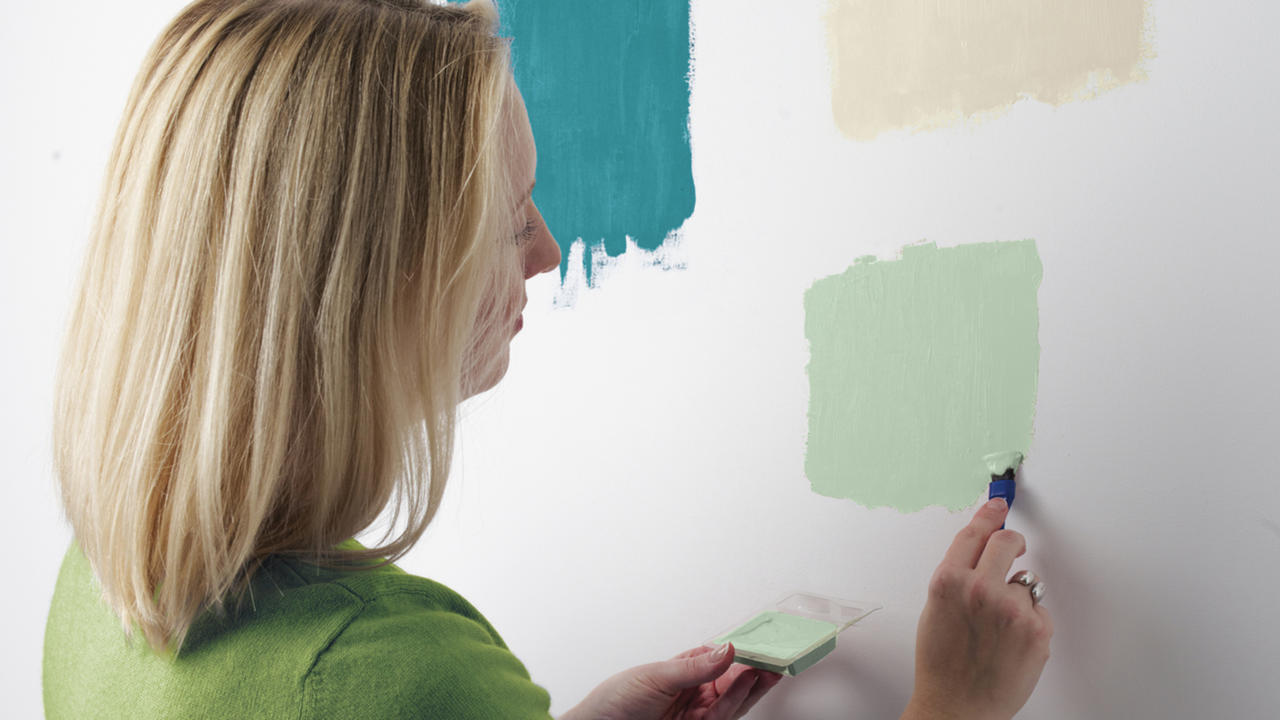
Image credit (here)
4. Make sure you Think of the Finish
Glossy paints will reflect light and look brighter, whereas the matte finish will absorb light and therefore look darker.
For interior walls a matte finish is good for hiding imperfections, but it is easily stained and not terribly easy to clean, although there are ‘easy-clean’ versions out there. If you’d prefer a glossy finish, it will cope with more staining in high traffic areas, although too much cleaning may dull it. However, imperfections do show up, so the wall needs a lot of preparation for this finish – but we’ll move on to that later!
5. What about the Ceiling Colour?
Ceiling paint doesn’t have to be white, if your walls aren’t too dark you can even paint the ceiling the same colour. If you’ve chosen a darker wall colour, you can have some fun choosing a contrasting colour that would work with the walls that are a little different – just make sure to test the paint in the light first.
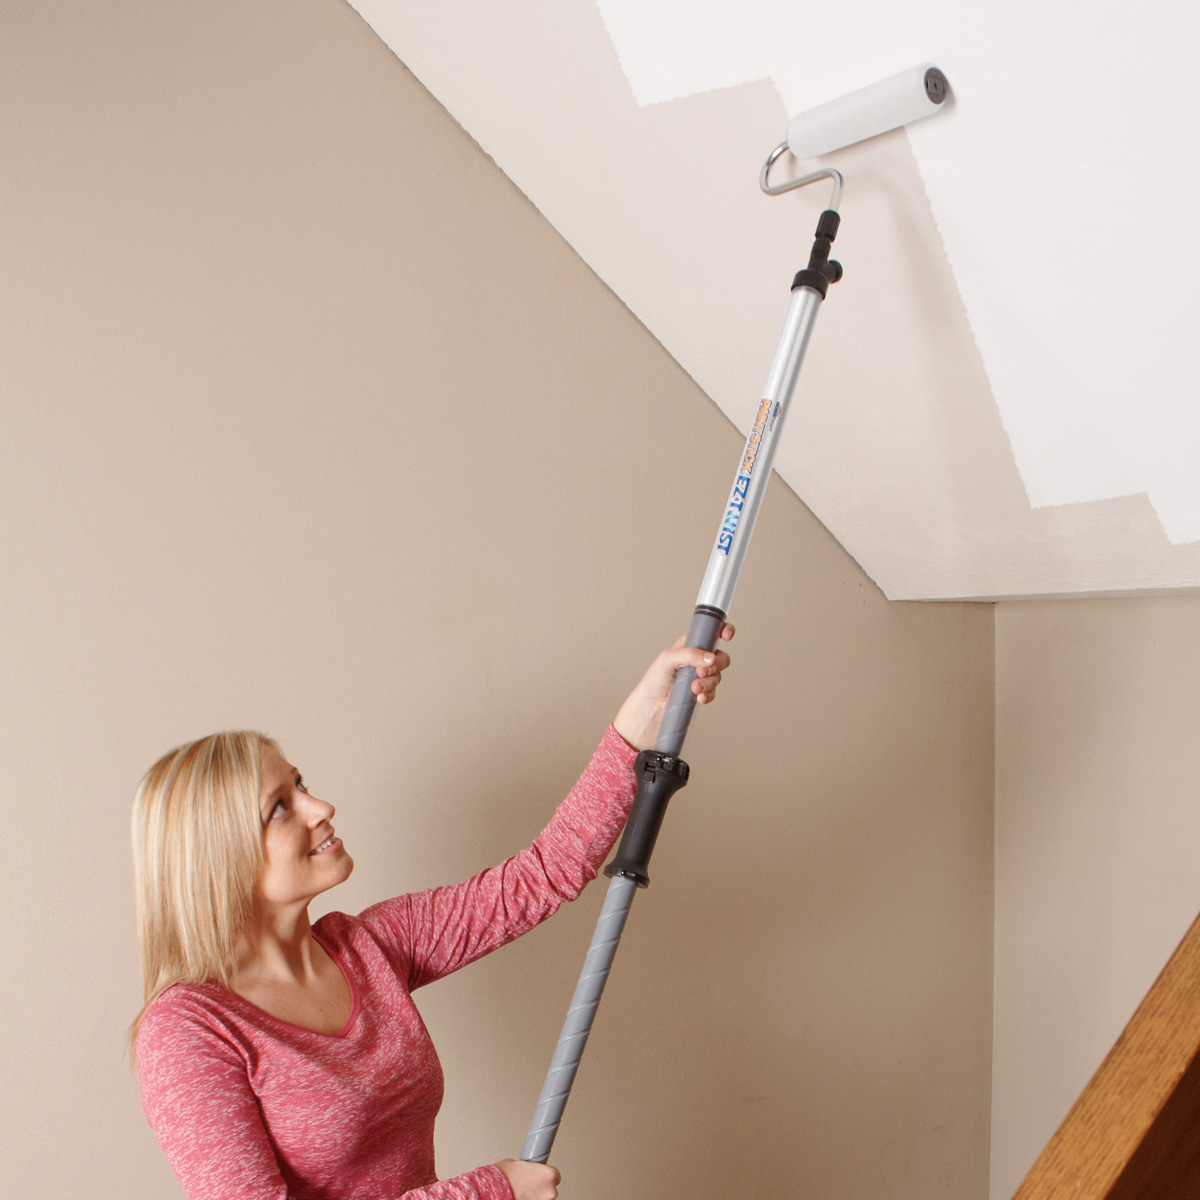
Image credit (here)
6. The Ingredients of the Paint Matter too
Latex and water-based paints dry quicker and have less fumes, and can also be cleaned up using just water if you do spill any. On the other hand, oil based paints are much more durable and may be better for more high traffic areas, or even the trims which tend to wear quicker than the rest of the walls.
7. Which Brand to Pick
When it comes to selecting the brand, the rule usually is that if you spend a little more, you get a little more. The cheaper the paint, the more coats you’ll need and the finish won’t be as flawless, and for interior painting, this can make quite a noticeable difference.
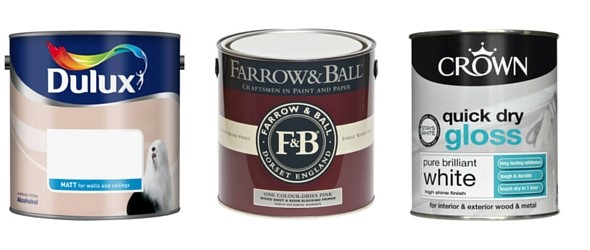
Premium brands such as Farrow and Ball offer the best coverage and the least coats, but do come in at around £39 for a 2.5L tin.
If you’re on a budget, Dulux and Crown paints are a bit easier on the pocket at £13 per 2.5L and will only need two coats to Farrow and Ball’s one. Own brand paints can be a bit of a false economy, the coverage tends to be a bit less dependable. However, you can find some good own brand paints if you look in the right places that can serve to be a true bargain!
8. VOC and Eco-Friendly Paints are an Option
Some people may be worried about the fumes and dangerous elements in some paints – especially when you’re painting a nursery or a child’s room. There are paints that are VOC (volatile organic compounds) free. They are a little more expensive and don’t tend to have the best coverage, but if it’s a worry for you, read more here.
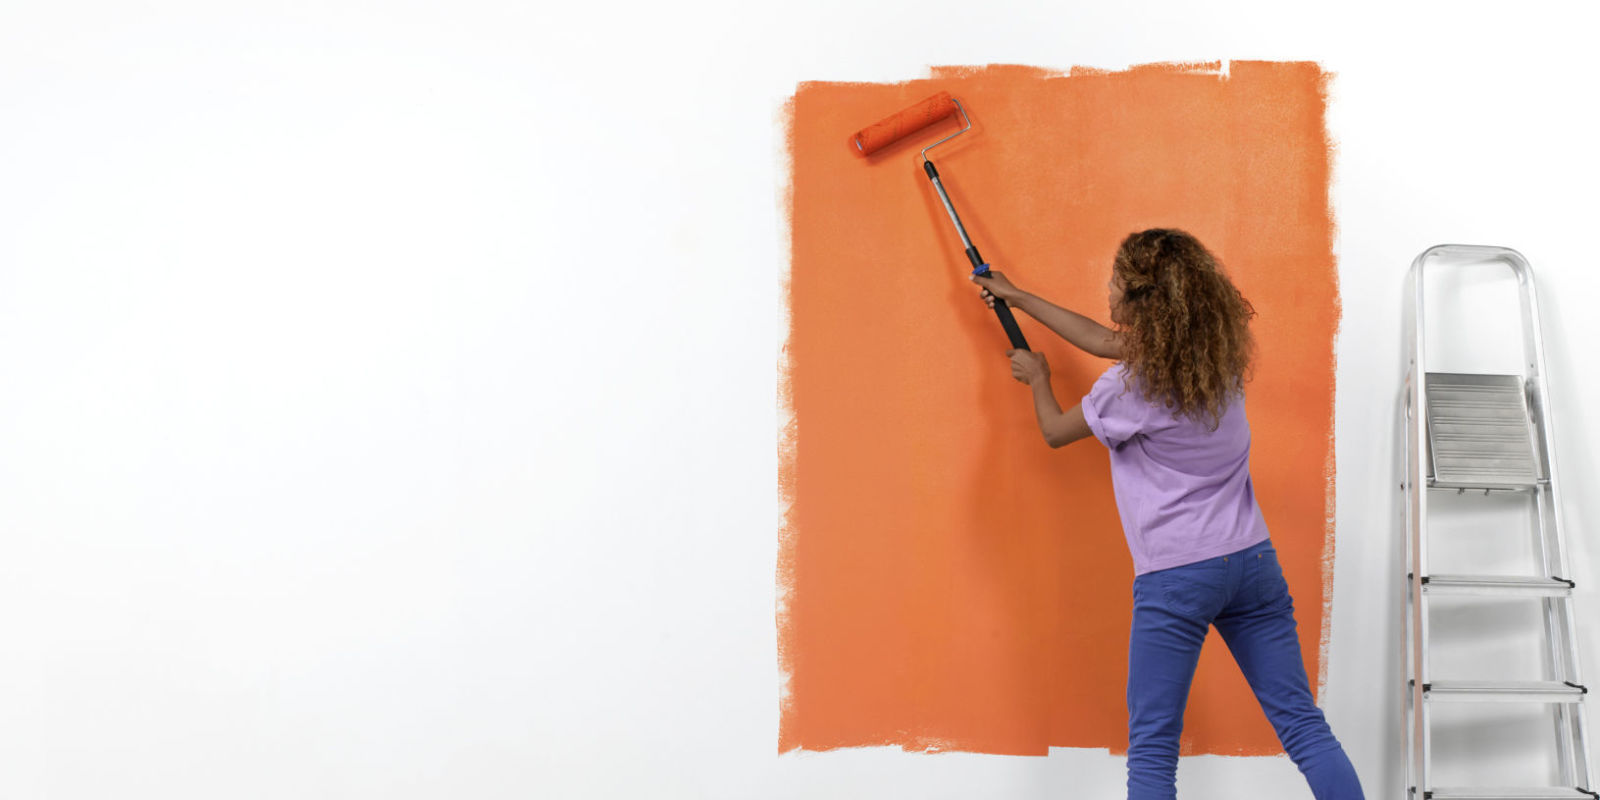
How to Paint a Room: Picking the Right Tools
When it comes to how to paint a room, tools are very important to consider. This is a step that is often overlooked when researching how to paint a room, with the idea that any brush can do the painting job – which really isn’t the case.
Paintbrushes are far more complex than you’d think, from the bristles to the shape – it should all be considered for the perfect paint job.
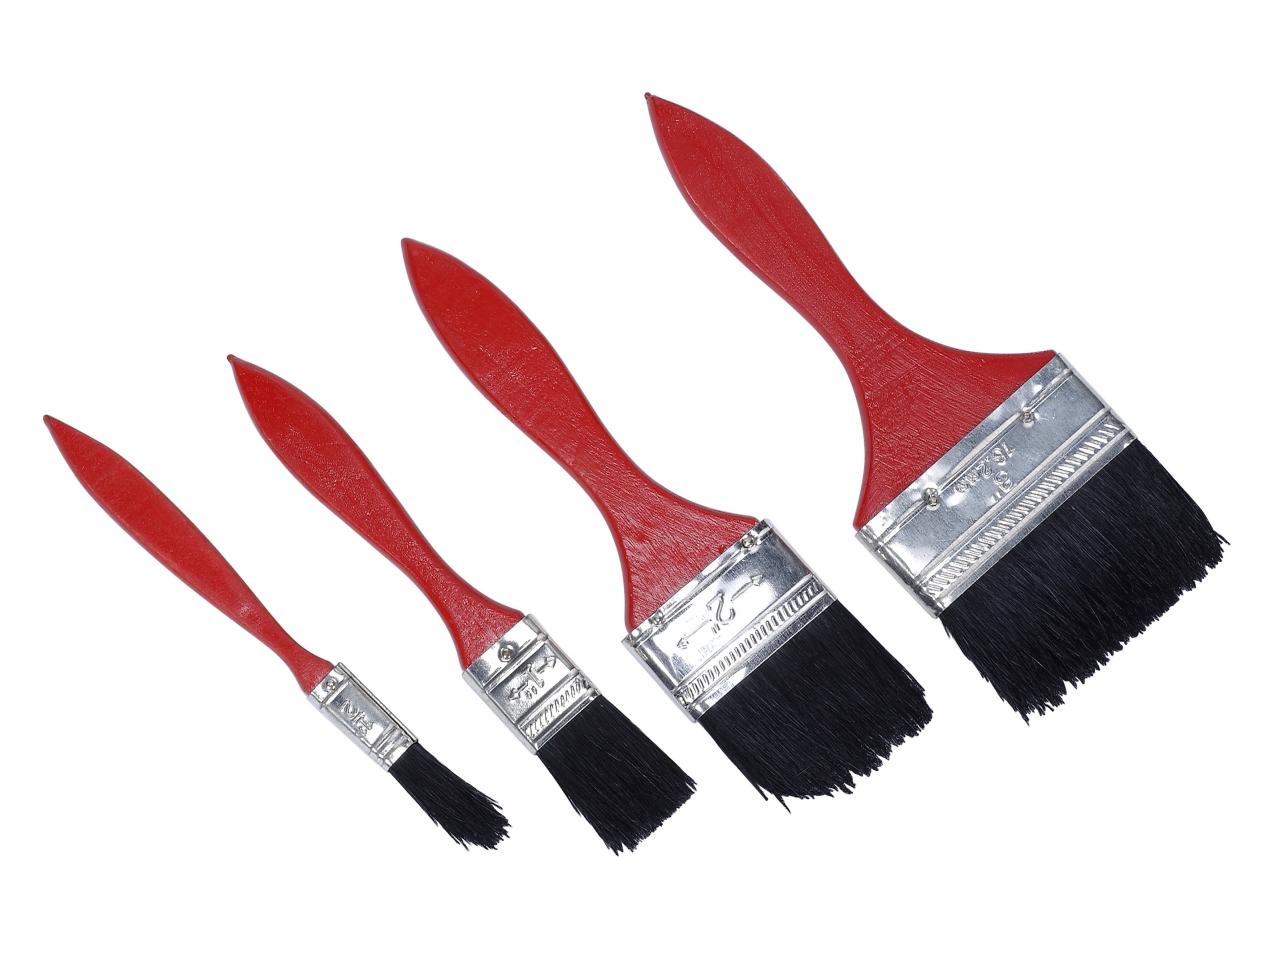
9. Which Bristle Type is Best?
Synthetic bristles are the best for water-based paints as it doesn’t absorb water and won’t cause track marks if the brush was to swell.
A natural bristle is best used for solvent-based paints, as it creates a smooth finish with the characteristic split ends handling the fine paint better while offering a good structure to hold onto the paint and apply it perfectly.
There is also a combined bristle paintbrush, with both synthetic and natural, which is good for all paint types if you’re not working specifically with either water or solvent paints.
10. Which Brush Size is Best?
The brush size is also a factor, with brushes sized 100mm-150mm being the most ideal for walls and less delicate jobs, to the 25mm for around window frames and the trim – we’ll go into this more later!
11. Don’t Forget About Brush Shapes
There are also different brush shapes for particular jobs, with the most useful being an angle sash brush for corners and hard to reach areas – giving a perfect finish for around the fiddly parts such as light switches.
It’s also a good idea to invest in a ‘no-loss brush’, as the bristles are tied around the block so no strands come loose and stick in the paint. For a real in-depth look, read more here.
12. How to Clean your Brushes
If you’ve got an old brush that you think could fit the bill for your job, a top tip is to use an old comb to get old paint residue off a brush. This will ensure it’s clean to give a good, sharp finish without any streaks or marks. Always clean your brushes after you’ve finished the job with white spirit or soapy water to save them for next time. If you’re painting for a long time, wash your paint brushes throughout the day to prevent them drying and ‘gumming’ up.
13. Which Paint Rollers are Best?
For choosing a roller, there are really only three types to choose from for your interior painting. They come in three pile lengths, short, medium and long which are suited for different textured walls. Short is best for the fine and flat surfaces, medium pile is best for smooth and more generic textures, with the long pile to be used on textured surfaces.
14. Do you need a Roller Extension Pole?
If you’re planning on painting the ceiling, a roller extension pole is essential – standing on a ladder won’t work and will make it a much more difficult job. If you’ve got high ceilings, this might even be necessary for the walls – it’s much easier than a stepladder!
15. Then There’s The Extra Tools
You’ll need tools such as something to open the paint can and a stir stick for the paint – especially if you’re mixing paints. Don’t forget to invest in roller trays and tray covers to put your paint into.
16. Tools for Essential Prepping
Next, we’re moving onto prepping the room, you’ll need specific tools for this too. To ensure the perfect finish, invest in fine grit sandpaper, a damp rag for cleaning the walls, and a putty knife for applying Polyfilla – which is another must!
How to Paint a Room: Prepping the Environment
Now you’re all set with your tools, it’s time to prepare the room for the decorating.
17. Protect your Furniture
It’s best to remove all furniture from the room you’re painting if possible, but if not then material drop cloths are an essential.
They’re relatively inexpensive and well worth not risking your furniture, and are useful to cover your floors too – just make sure to get non-slip ones. You can find them in larger Poundland stores, or DIY stores like Homebase or B&Q. Canvas is better than plastic, as it absorbs the drips rather than becoming slippery, are non-rip and are harder to trip over.
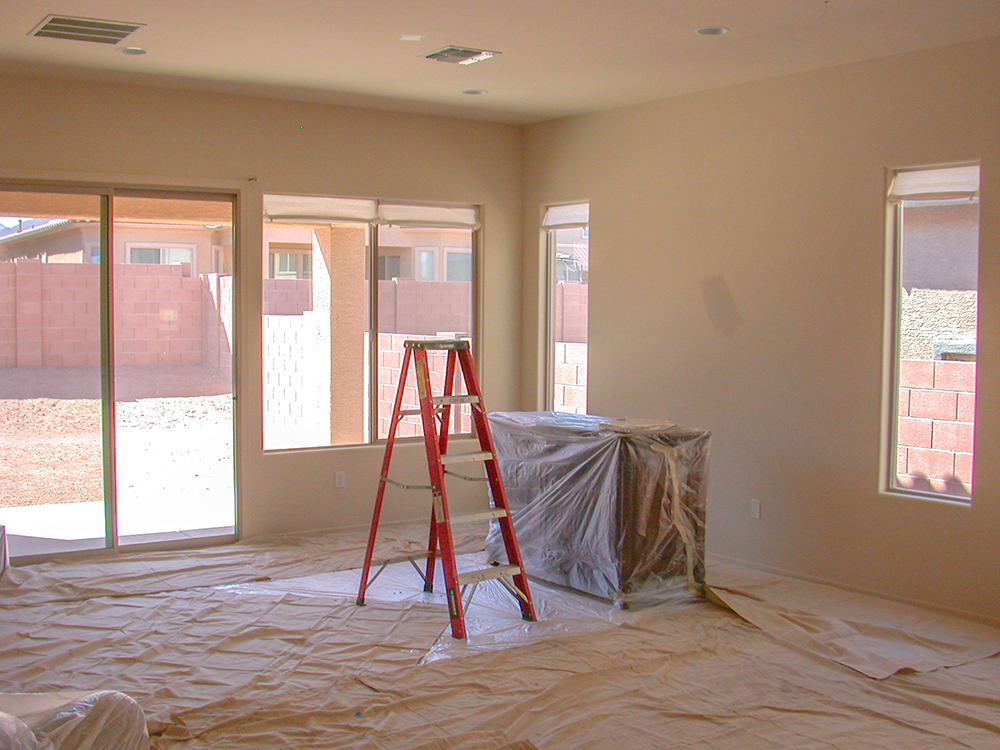
Image credit (here)
18. Don’t Forget the Borders
It’s also essential to use low tack (so it doesn’t remove any paintwork) masking tape along the bottom of all the skirting boards and around the borders of anywhere you’re not painting – such as light switches and windowsills. This helps keep the rest of the paintwork in your room sharp and doesn’t need a spectacularly steady hand for your interior painting.
How to Paint a Room: Prepping the walls
It’s not quite time to start your interior painting yet…to ensure an even coverage and the best end result, you need to prep the walls you’re painting, especially if you’re opting for a glossy finish.
19. Fill in the Holes in your Wall
If there are any nail holes, cracks or crevices in your wall – use a flat knife to apply Polyfilla to fill out the holes and ensure you’re working with a flat and even surface. Allow it to dry before moving on to the next steps.
20. Scrape off any Peeling Paint
If there’s any peeling or cracked paint, scrape it away as best you can so you get the best base foundation to start painting on. Don’t worry if it’s not perfect – sanding it down next will smooth it down fully.
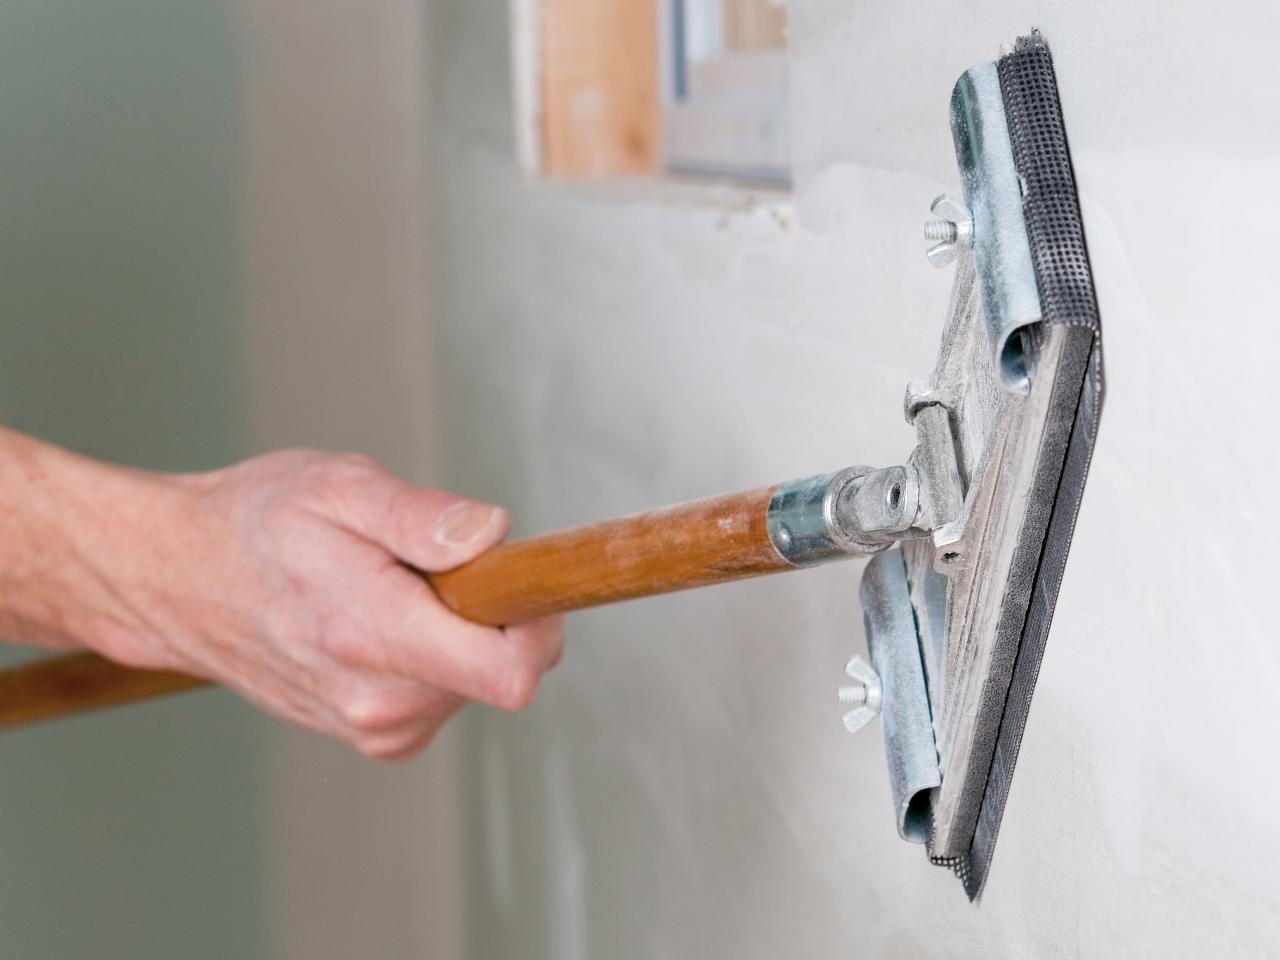
21. Don’t Forget to Sand Down the Walls
You may also need to gently sand down glossy areas with very fine sandpaper, to improve adhesion of the fresh paint to the walls. Be sure that you remove any remaining sandpaper dust before you begin painting, by vacuuming the wall or brushing it down.
22. Washing your Walls is Essential
You need to wash your walls using a mild detergent and warm water to remove any surface dirt, oil or grease that could seep into the new layer of paint, and undo all of your hard work.
Make sure any soap residue is completely washed away, and the walls are left to dry completely before you start painting.
23. A Paint Primer should be Considered
For the best results, applying a paint primer is the best way to get the best adhesive, pigment and durability from your paint. It’s a good idea to use primer, if you’ve used Polyfilla, as the paint can react differently to this as a different base surface.
Apply it to the walls the same as you would the paint (see below) and allow to dry fully before applying any paint.
24. Perfect the Primer with a Tint
This isn’t necessary, but if you tint the primer with the final colour then it improves the coverage and may reduce the number of coats you’ll need in the long run – it’s a professional painter’s tip!
How to Paint a Room: Painting
Now you’ve worked through all the preparation for the job, it’s time to tell you the most crucial part of how to paint a room!
As this is the main event, don’t just slop the paint on – there are certain techniques which mean your end result will be worth all the hard work.
25. Mix the Paint
Mix together all your paints into one bucket to keep a consistent colour, as if it’s poured into separate trays it may react differently, dry slightly and create a mismatched colouration. Make sure you stir it, as the oil, water and powder in paints can separate when the cans have been sitting for a while.
26. Then There’s the Technical Sounding ‘cutting in’
You should start by ‘cutting in’ the trims and edges of your wall. This is basically a technique where you paint the corners and edges of the walls where a roller can’t fit. You want to use a 2-3mm ‘trim brush’ to paint a three-inch strip along the perimeter of the wall and ceiling.
27. There are Paintbrush Techniques Too
When cutting the trims, hold the brush the narrow way around – it may be a bit more uncomfortable but it creates a much crisper line.
Also, remember to wet your brush before dipping it in the paint and blot it, it prevents the paint dripping up towards the handle and saves the brush.
Whenever dipping the brush into the paint can, only dip it in about half an inch – it prevents overloading the brush and stops excess dripping. Always paint in long continuous strokes to prevent any tidemarks.
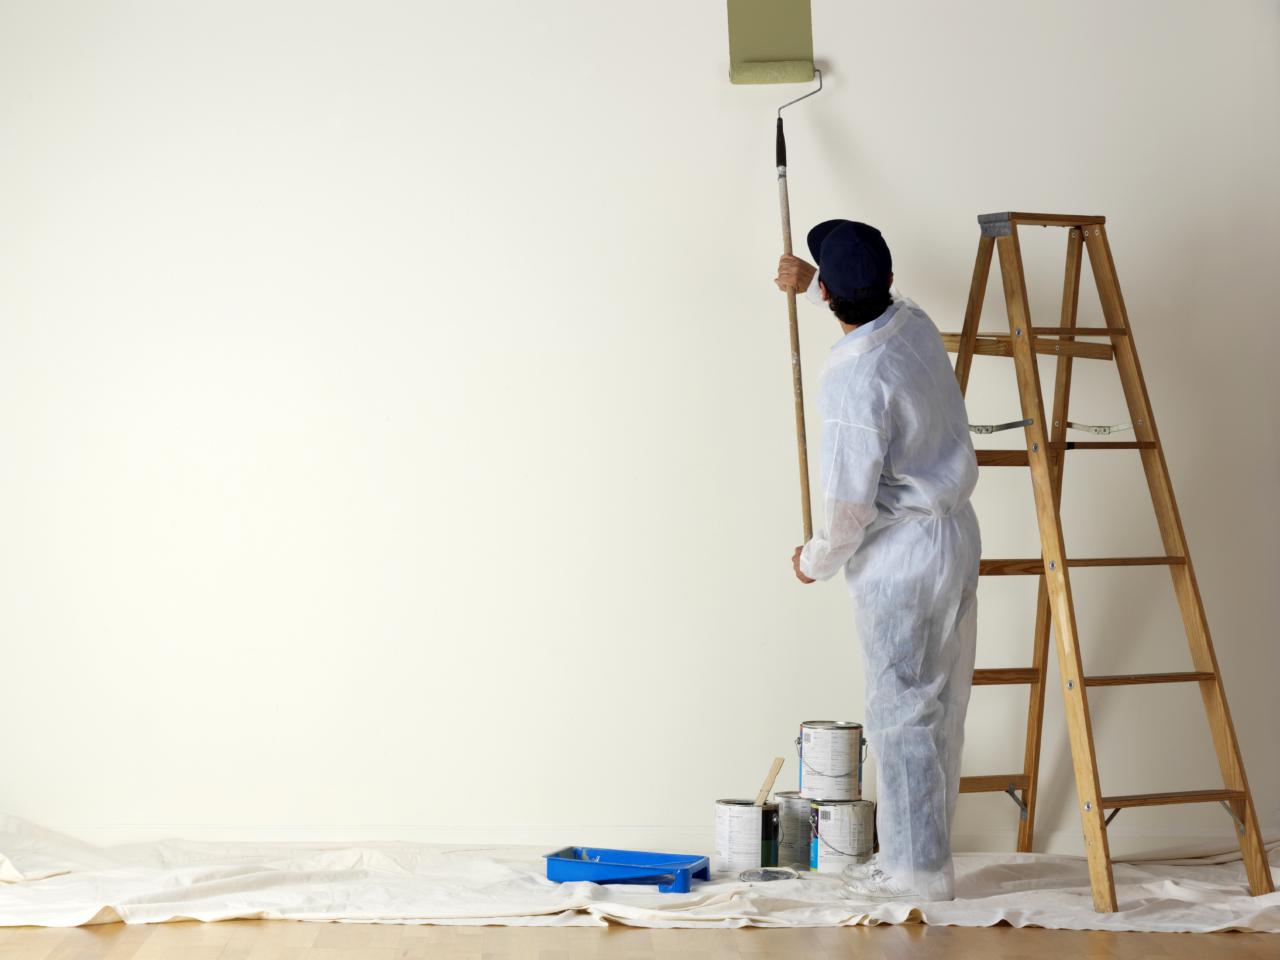
28. You Always Paint Top to Bottom
Once you’ve done this, you should think of the golden rule of how to paint a room – to always work from top to bottom. So, if you’re painting your ceiling, you need to paint both coats and allow this to dry before starting on anything else.
29. Painting the Ceiling Tips
When painting the ceiling, paint across the width of the room rather than the length, and start from the corners and work out – blending with the previous trims painted in. Make sure before you paint the ceiling, that you roll any excess paint into the tray to prevent dripping as much as possible.
30. Again, Don’t Forget the Trims
Once completing this, go over the trims you’ve made between the border of the walls and the ceilings, and then continue to ‘cut in’ around the whole room around the corners, light switches, and above the skirting board. Basically, any fiddly area which needs more precision than you can get from a roller!
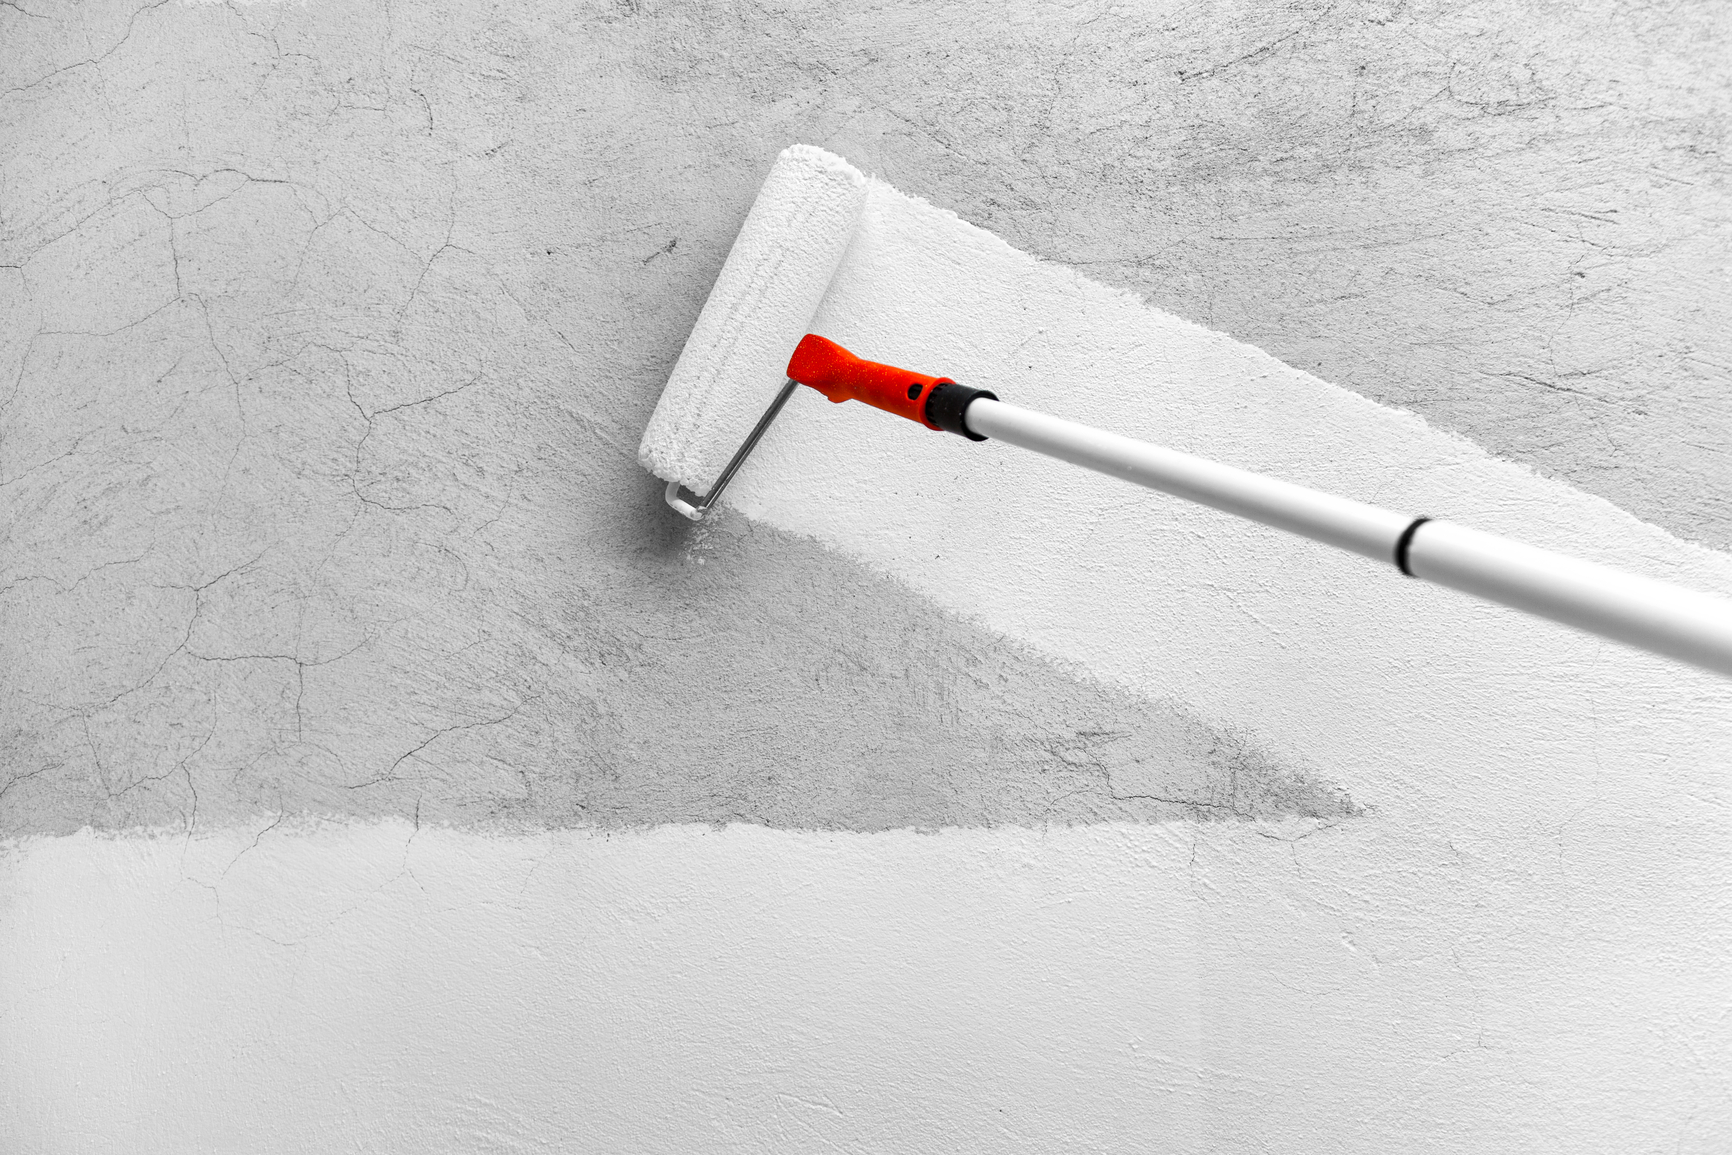
31. The Paint Roller Technique
When using a roller, it’s best to paint in a ‘W’ pattern and then fill in the gaps of the W without lifting the roller off the wall. Repeat this process until you cover the wall in your first coat of paint. Using this technique reduces the appearance of tide marks or lines where you can see the roller was placed.
Tide marks occur when you paint over a partly dried patch of paint, so if you paint rhythmically, from the corner, and maintain a ‘wet edge’ of the previous roll or brush stroke, you can blend the strokes and leave no tide mark.
32. Avoid Hatbanding
Make sure you paint as closely as possible to edges and trims to prevent ‘hatbanding’, which is the term for the different textures of paint which can be seen from the trims to the rest of the wall.
33. You Don’t Want to Stretch the Paint
You don’t want to overload the wall with too much paint, so you want to be sure to wipe the roller on the tray to remove excess. But equally, don’t stretch your paint out too thin, it’ll just result in an uneven blotchy paint job.
34. If You Take a Break
Prepare for the painting to take longer than one day, so wrap your rollers and paint brushes in cling film and put in the refrigerator to prevent drying so you don’t have to clean your brushes every time. Just remove them half an hour before starting again so they’re back to their best.

35. Finally, Finishing up
When removing the tape, you need to make sure you do it before the paint is completely dry, to reduce any damage to the paint. Peel it off when the paint is no longer tacky but is still a bit damp below the surface. Also, if the paint does peel at all, use a box knife or razor gently for a clean cut to remove it without damage.
And that’s it – you’re all done!
Hopefully, this guide will help you break down the task of how to paint a room into a fairly easy process. It takes time to paint a room flawlessly, but it’s worth it in the long run to perfect your house décor – and when done right, it’ll stand the test of time much better!
For more interior design project ideas, check out our DIY section on the blog, with more how-tos to improve your interiors.
Updated April 2021.
Thank you! Awesome tips.
Great tips for beginners and as a refresher course for the initiated. I notice you are a big fan of rollers with long extension poles, which is much safer than standing on top of step ladders with a paint brush in hand. They are especially useful in my house where I have large rooms with high ceilings. In my opinion, they are one of the best tools ever invented.
I couldn’t refrain frm commenting. Perfectly written!
If you want to paint your house then it is important to know about a little bit of painting first. Great tips for beginners and as a refresher course for the initiated. Please keep us up to date like this. Thanks for sharing.
These tips are the ultimate one for a DIY project. You have included all those points that cannot be ignored in any case. It is quite informative. Keep up the good work.
Hi Lisa 🙂 Thanks for the kind words! Really glad you liked the post!
That’s all great for the walls but do you do the walls before the glossing of doors and skirting boards? Is there a special order in which to do it? Thanks
Hello 🙂 If painting the whole room, start with the ceiling first, then the walls and then doors, windows and skirting.
The same principle of working top to bottom applies to painting woodwork. Start with your windows so that you get a full day to let the paint dry before closing in the evening. Then paint the door, door frame and architrave, followed by the skirting. By painting the skirting last, there’s less risk of the brush picking up carpet fibres or dust, but if you’re wallpapering your wall, it’s best to paint the skirting before hanging the paper.
Is there a special order for painting. I.e. Walls and then woodwork, or the other way round. Thanks
Hi Beth 🙂 yes there is! It’s said that it is best that surfaces should be well prepared before painting. Holes should be filled and all surfaces sanded and cleaned down. All-purpose filler can be used in walls, ceilings and wood. Alternative fillers are also widely available to meet special requirements, such as specific wood fillers or fine surface fillers.
Bare wood must be primed before further coating. I hope this helps! If you have any more questions, don’t be shy to ask 🙂
Clearly written by somebody who’s never used Farrow and Ball… One coat??
Most decorators I know hate the stuff… Me included. The last time I used their emulsion, it took 5 coats to get good coverage. Dulux and Crown… And, in fact, any trade quality paint goes further.
Hi Damian, we have used Farrow and Ball before as our offices are painted with Farrow and Ball ‘Denim Blue’. If you aren’t a fan of the company’s products then feel free to use any company of your choosing 🙂
I remember when we tried DIY painting our house and it really did not go well, the wall paint looked like it was painted by a 5-year-old child.
Hi Kim 🙂 oh dear! That sounds bad haha, hopefully, you’ve been able to get it redone or even decided to redo it yourself!
Thank god someone else as said that!!
Your lucky mines more like a room full of pigs with paintbrushes in mouths all happy as Larry or pigs in …
What a mess.
Thank you for sharing the article. This article is really helpful for beginners to try out the painting on their own. I like especially the ceiling color portion because there is a myth among people that we only have white color left for the ceiling. Thanks and keep on sharing the article.
Hi Graham, thanks for the kind words!
Hoje tiramos. Tempo para agradecer as matérias contidas além de nos ajudar trás sempre o melhor resultadoPintura residencial
Muito bom, espero que nosso artigo tenha sido capaz de inspirar você.
Awesome useful tips, thank you for sharing!
Thank you very much!! No problem 🙂
Wow. This article is very interesting and i enjoy during reading because you tell us methods of paint and decoration which is suitable for me because i’m a painter. so thank you so mush for this.
Hi Emily, thank you! I’m really glad that you liked it!
Nice. This article is very perfect and usefully information.
Hi Alan, thank you very much! I hope that it was able to help and guide you in some form.
Awesome Tips. Thanks for sharing these mind-killer tips with us. The tips you’ve provide in your article will help the beginner so much who wants to start wall painting. Thank you again and Good Luck
Thank you! I’m really glad to read this type of article.
Beautiful written article and some fantastic tips for beginners, I like the bit about paints buying cheap paints the more coats you will have to apply and that is so true.
A fantastic written article and I very much enjoyed reading it.
Regards
George Coull
Hi George, thanks so much for the feedback! I’m glad that you liked the post 🙂
This article is really very helpful and I really appreciate your article such an informative article. Thank you for sharing this article.
Thank you for sharing this blog on how to paint a room that is a very helpful blog.
Its a huge list. Thank you for sharing the post. Useful information here for new painters 🙂 From colors to equipments everything is here.
Hi just a quick question do you do the coving first then the ceiling then the walls and finish off with doors etc Thanks
It was definitely informative. Your site is extremely helpful. Thanks for sharing!
As a professional decorator preparation is key when it comes to the perfect paint finish. I agree with your tips as they are very handy.
These are some really great tips! People don’t consider alot of these things when undertaking a painting project. Prior research before beginning is definitely a huge help. Especially when there are websites like this that have good information.
Great Blog, extremely informative and helpful. Keep up the good work