When it comes to decorating your home, wallpaper is a great option that can offer a multitude of rich designs.However, opting for wallpaper rather than paint can be a daunting task. Which is why we’re here to show you how to hang wallpaper.
If you want to try and wallpaper your home, we have some key tips and tricks to ensure you get a flawless finish.
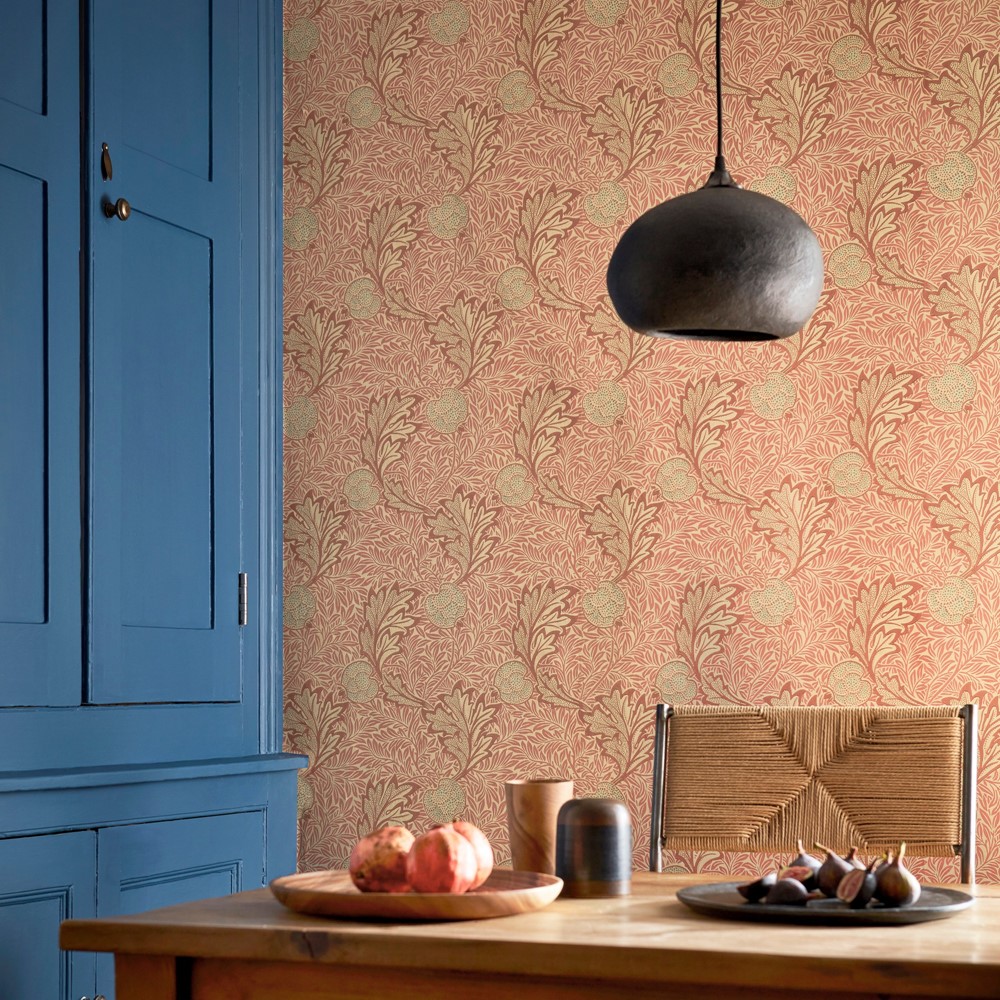
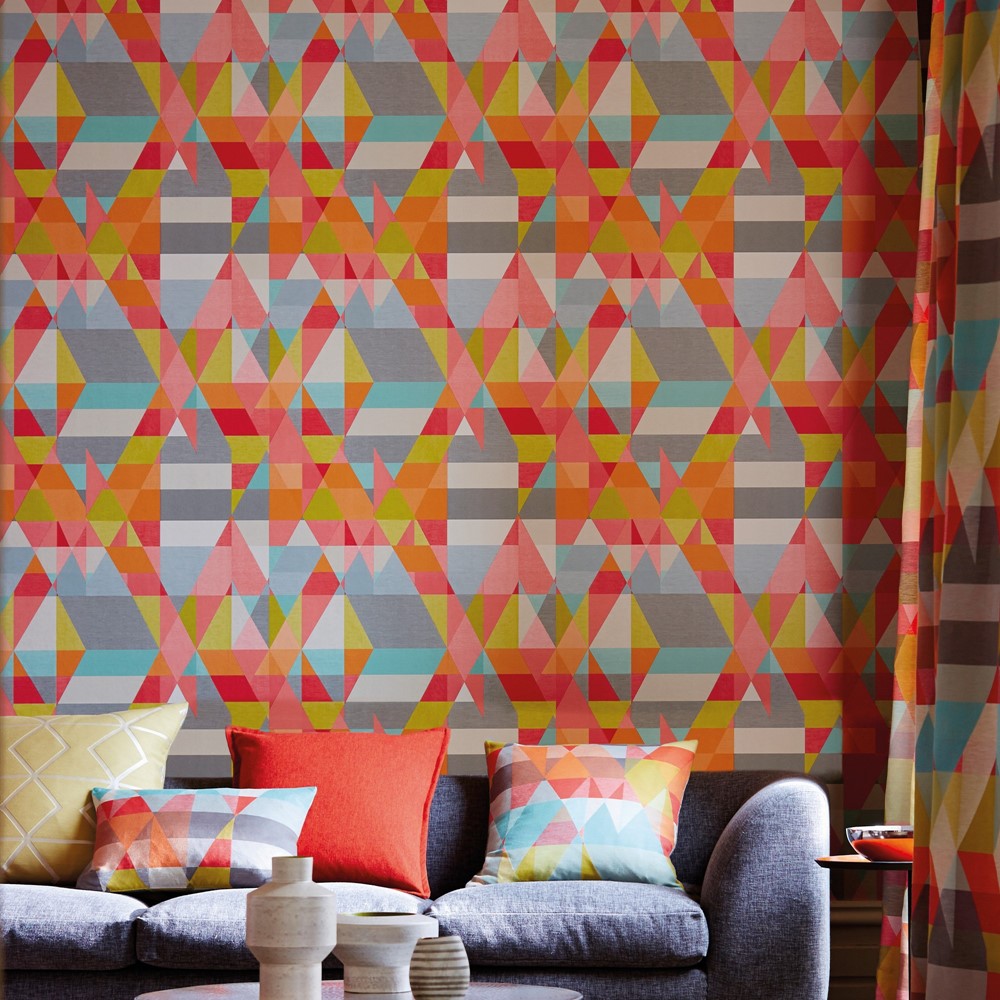
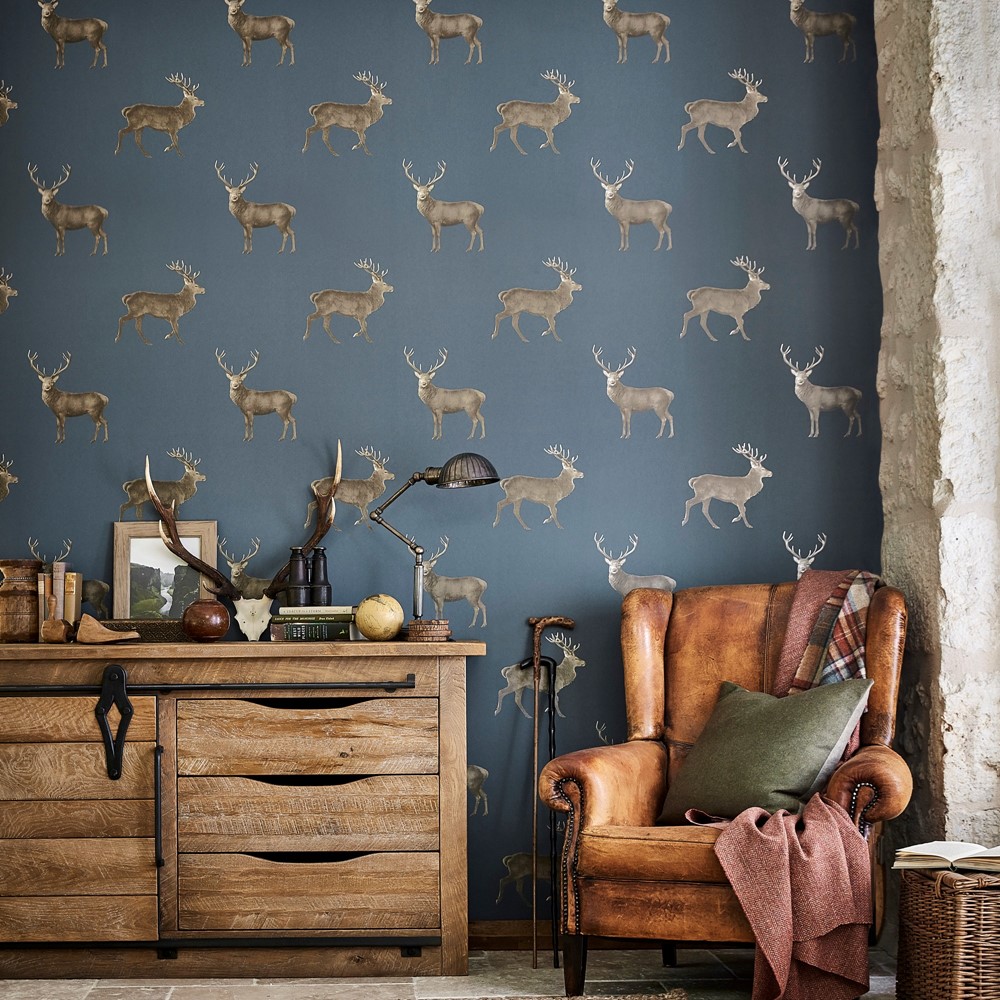
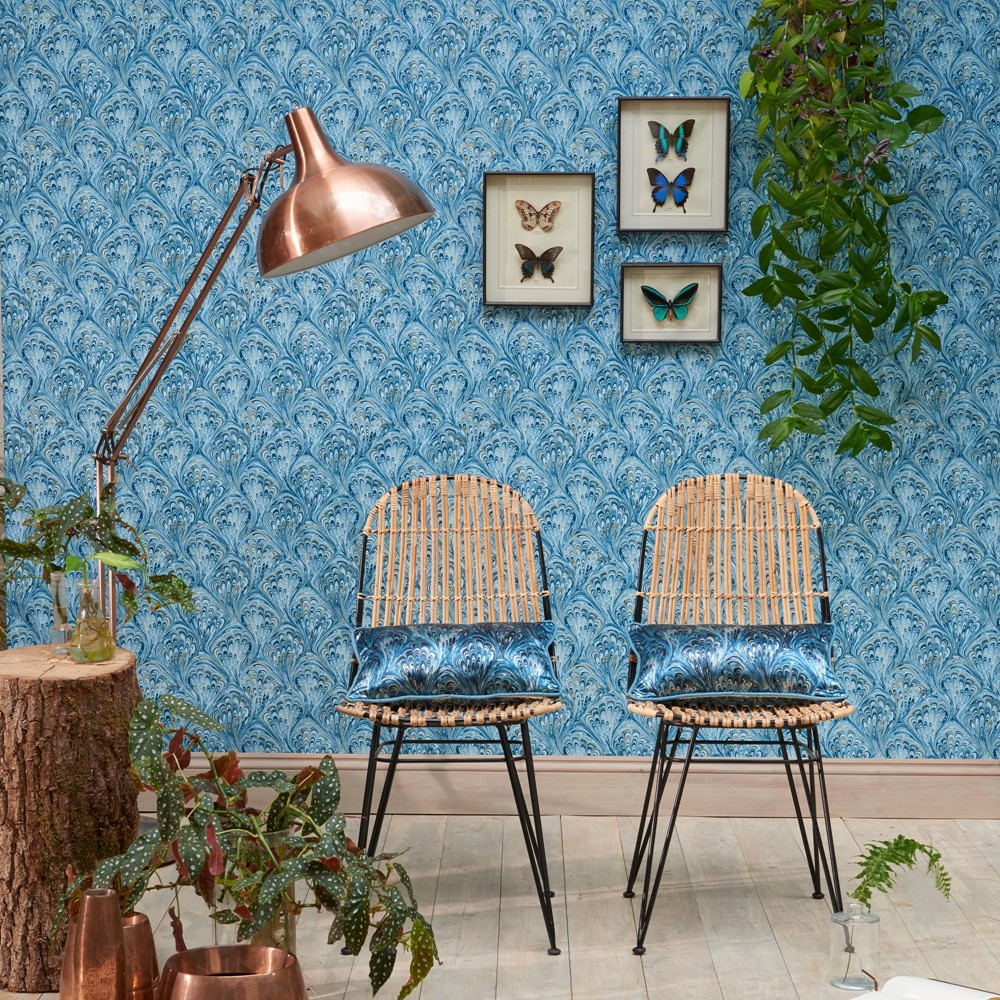
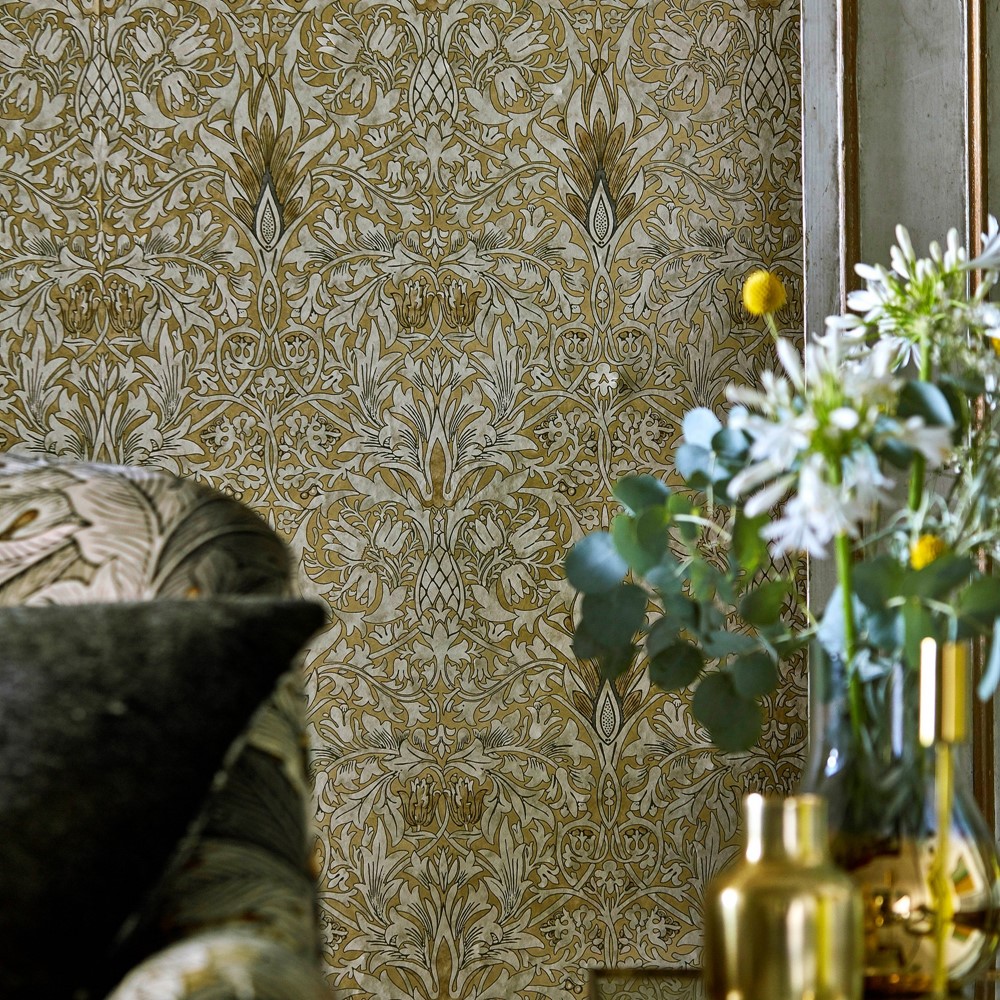
Here’s our guide to hanging wallpaper like a professional, and if you want some inspiration for wallpapers to choose…check out our eclectic range of luxury and designer wallpapers.
Tools You’ll Need
- A high-quality paint roller
- A tray for adhesive
- A wallpapering table
- A smoothing tool
- A pencil
- A leveller
- Adhesive
- Wallpaper
- Utility knife
- A clean sponge
- A step ladder
Always Prepare Your Space
When it comes to hanging wallpaper, the wall you’re working on is the blank canvas you will be bringing to life. This means that the blank wall needs to be prepared, and is just as important as any methods you use.
Cover Any Space
Although wallpapering isn’t as messy as painting, it’s not nearly as neat as you may imagine. Adhesive will regularly splash around, so you will want to cover any furniture.
Ideally, move a large piece of furniture from the room, but if that’s not possible then cover well. You should also cover any flooring where you’ll be working. No one wants to be cleaning wallpaper paste from the floor after you think the hard work is done!
Remove Any Old Wallpaper
Doing this will give you a smooth finish and avoid air bubbles and creases appearing when you hang the new wallpaper.
Think About Fixtures
Start by removing any fixtures on the walls, such as lights. Fill any holes with and use a drywall knife or use sandpaper to gently remove small imperfections.
Seal Your Walls
If your wall is plastered, it’s best to seal them with a wall sealer or wall size. This helps to cover the porous material of the wall underneath, ensuring no moisture will affect your wallpaper. It also helps the wallpaper adhesive.
Ensure To Line Your Walls
When hanging wallpaper, it can be that it will shrink once applied to the wall. If you’re applying it to a lined wall, this is less likely to happen. If you’re choosing a highly patterned wallpaper, this is the best method to ensure accuracy when lining up patterns.
Think Of Where You’re Decorating
Before choosing a final design for your wallpaper, think about where the wallpaper will be sitting. If it’s in a bathroom or kitchen, it’s likely there will be more moisture than other rooms – so opt for a vinyl finish to ensure the wallpaper isn’t affected.
Similarly, in high-traffic areas such as hallways or stairs, a vinyl effect can help to hide the inevitable wear that will happen. A busier design will hide any potential nicks or stains that are more likely to occur in high-traffic rooms.
Calculate How Much You Need
It may seem like an obvious pointer, but you should always calculate how much wallpaper you will need to cover the space you’re working with.
Always allow some wastage for wallpaper, in case some pieces become wrinkled and can’t be used.
Lay Out The Wall
Use a roll of paper to lay out the room as a guide, by placing the wallpaper into the corner where you plan to start, and make a pencil mark on the wall at the edge of the roll. Slide the roll down to that mark, and make another pencil mark at the other edge of the roll.
Keep doing this until you know where every seam is going to fall. You may have to cut down the first panel to avoid hanging small strips in doors and corners.
You’re Ready To Begin
Work Away From The Door
Wallpaper seams on straight walls are not overlapped, but placed next to each other, which is called ‘butted’. Seams are less visible if you place them at the point farthest from where the first panel was installed.
Minimise the visibility of seams by starting in the area opposite the most-used entrance to the room.
Leave Extra Space
When cutting wallpaper, you want to leave about a 2 inch space above where you will place the wallpaper for some overhang. This allows some give for the wallpaper to shrink.
You can use your utility knife to carefully trim the excess once finished. Ensure to press the knife gently towards the wall, to avoid cutting the ceiling.
Adding Adhesive
Whether you’re using a self-adhesive wallpaper or applying paste, you should always use a nap paint roller to apply either water or paste to the back of the wallpaper.
This ensures a uniform and neat coverage. When using this method, ensure that the paint roller you’re using is high-quality, as cheaper versions may shed slightly increasing the chance for imperfections.
‘Book’ The Wallpaper
‘Booking’ is the method of folding the wallpaper back on itself, once adhesive has been applied. This gives the wallpaper time to process, absorb the adhesive and soften. This makes it easier to work with when trying to hang on the wall.
It allows the wallpaper to fully unfurl, from any curl it is keeping from being rolled up. It also allows the wallpaper to fully expand, giving you an idea of how much space it will take up before setting.
When Laying In A Corner
When laying wallpaper it’s best to begin on the inside of a corner of the space you’re working with. When doing so, you need to bear in mind that corners are rarely 100% straight.
Use a level and draw a straight line about 1/4 in. past where you want the first panel of paper to end. Inner corner seams need to overlap by ⅛ of an inch, so ensure to bear this in mind.
Some wallpaper won’t stick to other wallpaper, so run a small bead of seam adhesive in the corner before overlapping the second piece.
Always Smooth Out
Once the paper is on the wall, be sure to run your smoother over every square inch of the paper. But don’t push too hard on your smoother or you’ll squeeze out the paste and stretch the paper.
This is especially important when you’re working with pre-pasted paper. Stretched-out paper with too little paste behind it is guaranteed to shrink when it dries. Shrinking causes gaps in the seams.
Wipe Down As You Go
When hanging wallpaper, as careful as you are, it’s likely that there will be some wallpaper paste that will get onto the wallpaper.
Use a clean sponge and dampen it very slightly, and use this to wipe the wallpaper. Removing paste before it has set is much easier than allowing it to dry on.
Don’t make the sponge too wet as this can cause the wallpaper to wrinkle, and try to use very light pressure.
Ensure Every Seam Is Set
Using a roller, you should roll down on each seam every time you hang a wallpaper panel. This ensures that the edges of the wallpaper will be properly stuck to the wall, and prevents them curling up at all.
Hide The Last Seam
When you’re hanging a wallpaper with a busy and repeatable design, the pattern on the last seam will not line up to the rest of the walls. Ensure you hide this in a low-visibility area. The corner just above the door is usually the best spot.
And just like that, you’ve expertly decorated your space with wallpaper!
Thoughts?
We hope we’ve helped to show you how to hang wallpaper. Share with us in the comments if there’s any tips we missed out, and show us any wallpaper you hang!
If you’re still not sure about hanging wallpaper yourself, check out our tips to paint a room as a beginner.
Leave A Comment